Monday 25 February 2013

Concrete Leg and Table Top

So the table top is finished and is looking great. It has been dried and lasercut into to give a unique pattern that retains the style of the original print. Morna has been shown and is extremely happy with it. The process and final image is shown below:


The concrete leg on the otherhand was a bit of a disaster, whilst the main shape was great there was a recess where an air pocket formed due to the aggregate in the mix being too big. Below are some images and another leg has been poured today.


Apart from the obvious fact that the leg is broken, the mould it self was very effective, the structure is solid apart from the recess so I am extremely confident about the next one!

Monday 18 February 2013

Leg Mould

Since it was decided that the table legs for the side table will be made out of concrete a mould had to be created. In order to do this modelling silicone was purchased in order to get all the carved details of the existing legs. Below are the pictures of the different steps it has taken to make the mould:
The original table with the can of silicone.
First the leg had to be suspended halfway deep in clay.
The silicone was mixed with a catalyst and a catalyst booster to reduce the setting time.
The silicone was poured into the mould, totally covering the leg.
Once one half was done a wall was built up again and the rest of the silicone poured.
Another was build around the silicone in order to make a plaster casing that will stop the silicone expanding when the concrete is poured in.


The Final mould is shown below:


Friday 15 February 2013

It's all in the detail, part 2...

After moving forward with plans to pour concrete into the top of the table top in order to create a new finish to Morna's side table, I explored the possibilities of putting the pattern back from the original vinyl top. The best way to try and put this pattern back on to the top of the concrete was to laser-cut it on. I know this is going to be a tricky task so in order to try some different things I tested how detailed the laser-cutter could be on concrete, below are some results:


After attempting these I then decided to design a border pattern for the table and came up with some ornate corner pieces.

This was then tested on a bit of spare card that was lying around.


This gives a pretty good representation of the detail in the corner decoration and hopefully the same finish that will be on the finished concrete table top.

It's all in the detail...

In order to figure out the best material table top and the legs different concrete mixes will be tried. The original mix percentages have been altered to make the mix stronger, this includes bring down the amount of sand and increasing the amount of fly ash. As well as this new mix being tested, another mix was made to the same percentages but with the inclusion of fibres to strengthen the concrete and reduce the chance of shrinkage or cracking. A red pigment was placed in a third mix to see if the colour would work better for the wood. As well as all of these three new mixes tried, all three were tried in a smaller thickness as well which is more realistic to the depth of the table top.
Normal Mix


Normal Mix with Red Pigment
Normal Mix with Fibre

Thursday 14 February 2013

Inital Ideas

After Morna approached me saying that she had a side table that was a bit battered and broken we decided to look at the original features of the table and what she would like done with it. There were three areas that needed attention:
  1. The table top 
  2. The two front legs
  3. Missing pull out shelf
I then sat down and drew up several ideas for each section and these are shown below


Table Top Ideas


Table Leg Ideas
Sliding Drawer Ideas


I took these back to Morna and we decided what she would like done with the table. She decided that even though it would be nice to have a side table she would likely not use a pull out shelf and she would rather have something simple and striking rather than an intricate bit of work. She had seen the bedside table that had been made and said that using the concrete legs and a concrete top would be ideal for her. I then drew up a final sketch of what the table would look like:


Sunday 10 February 2013

Next Stages

There are two parallel paths that will be prototyped over the next couple weeks.

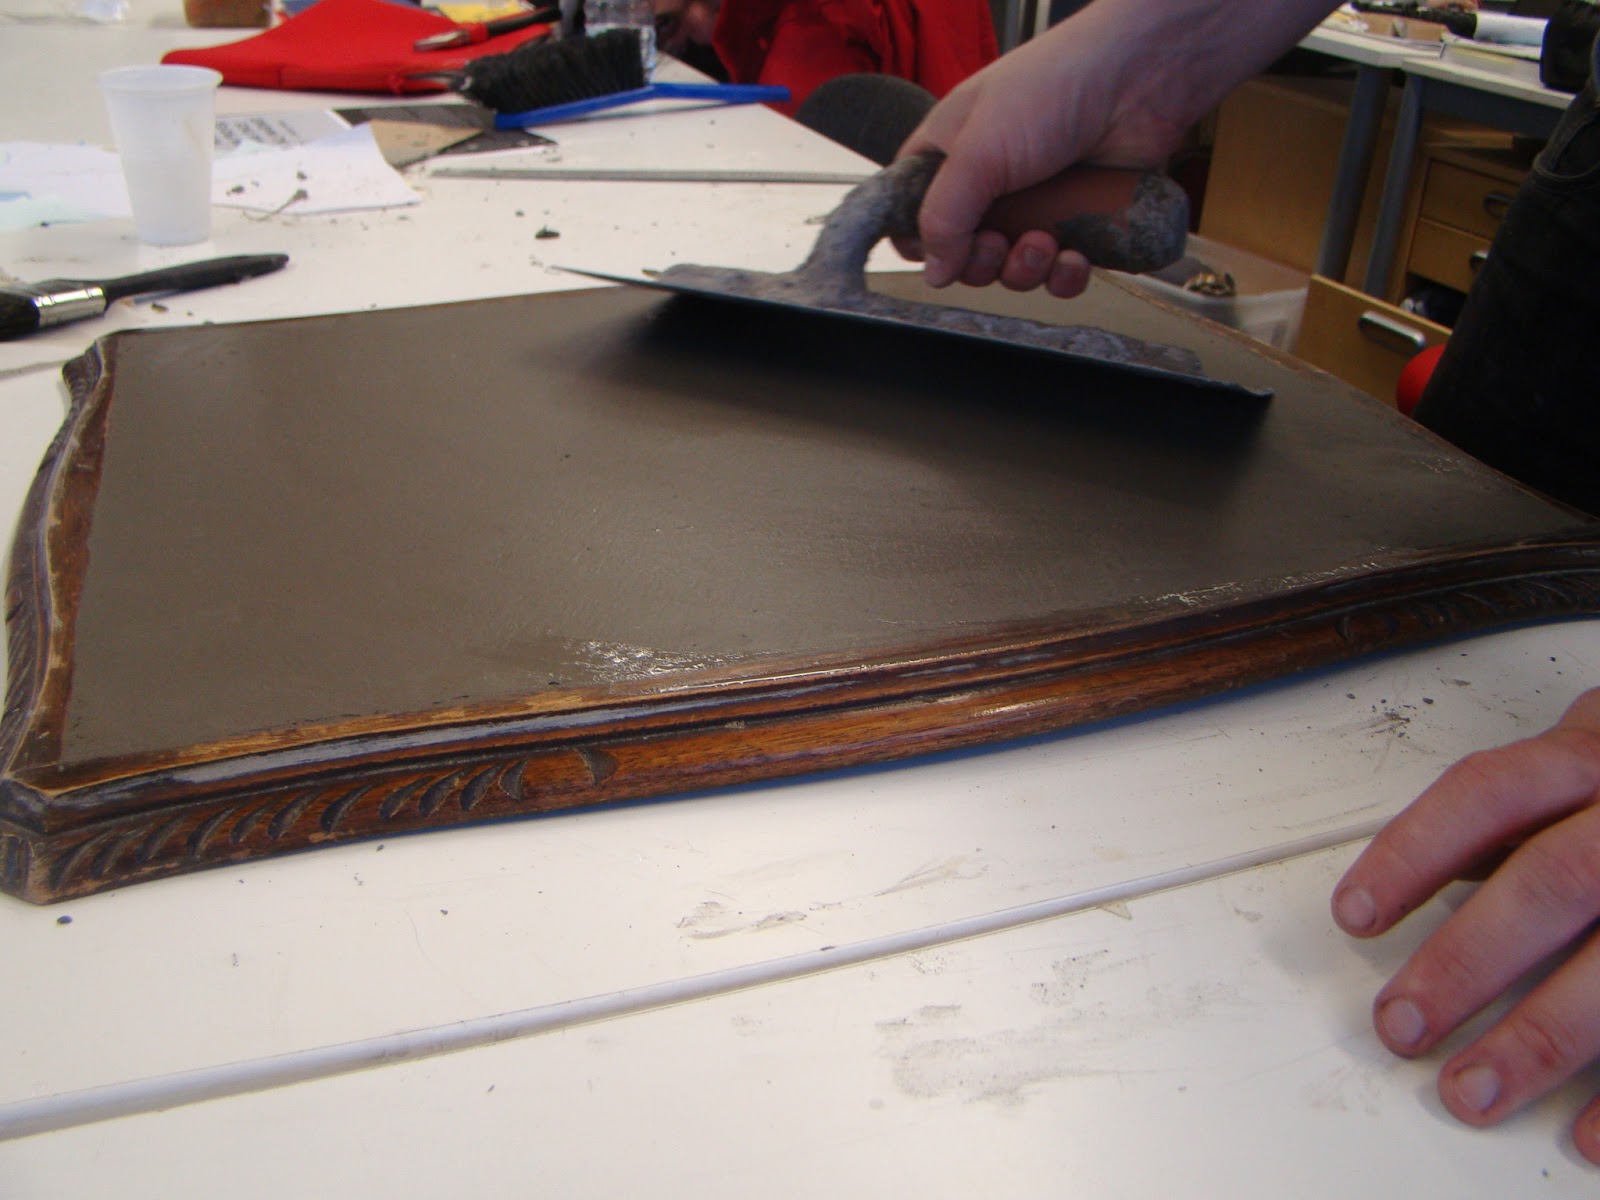
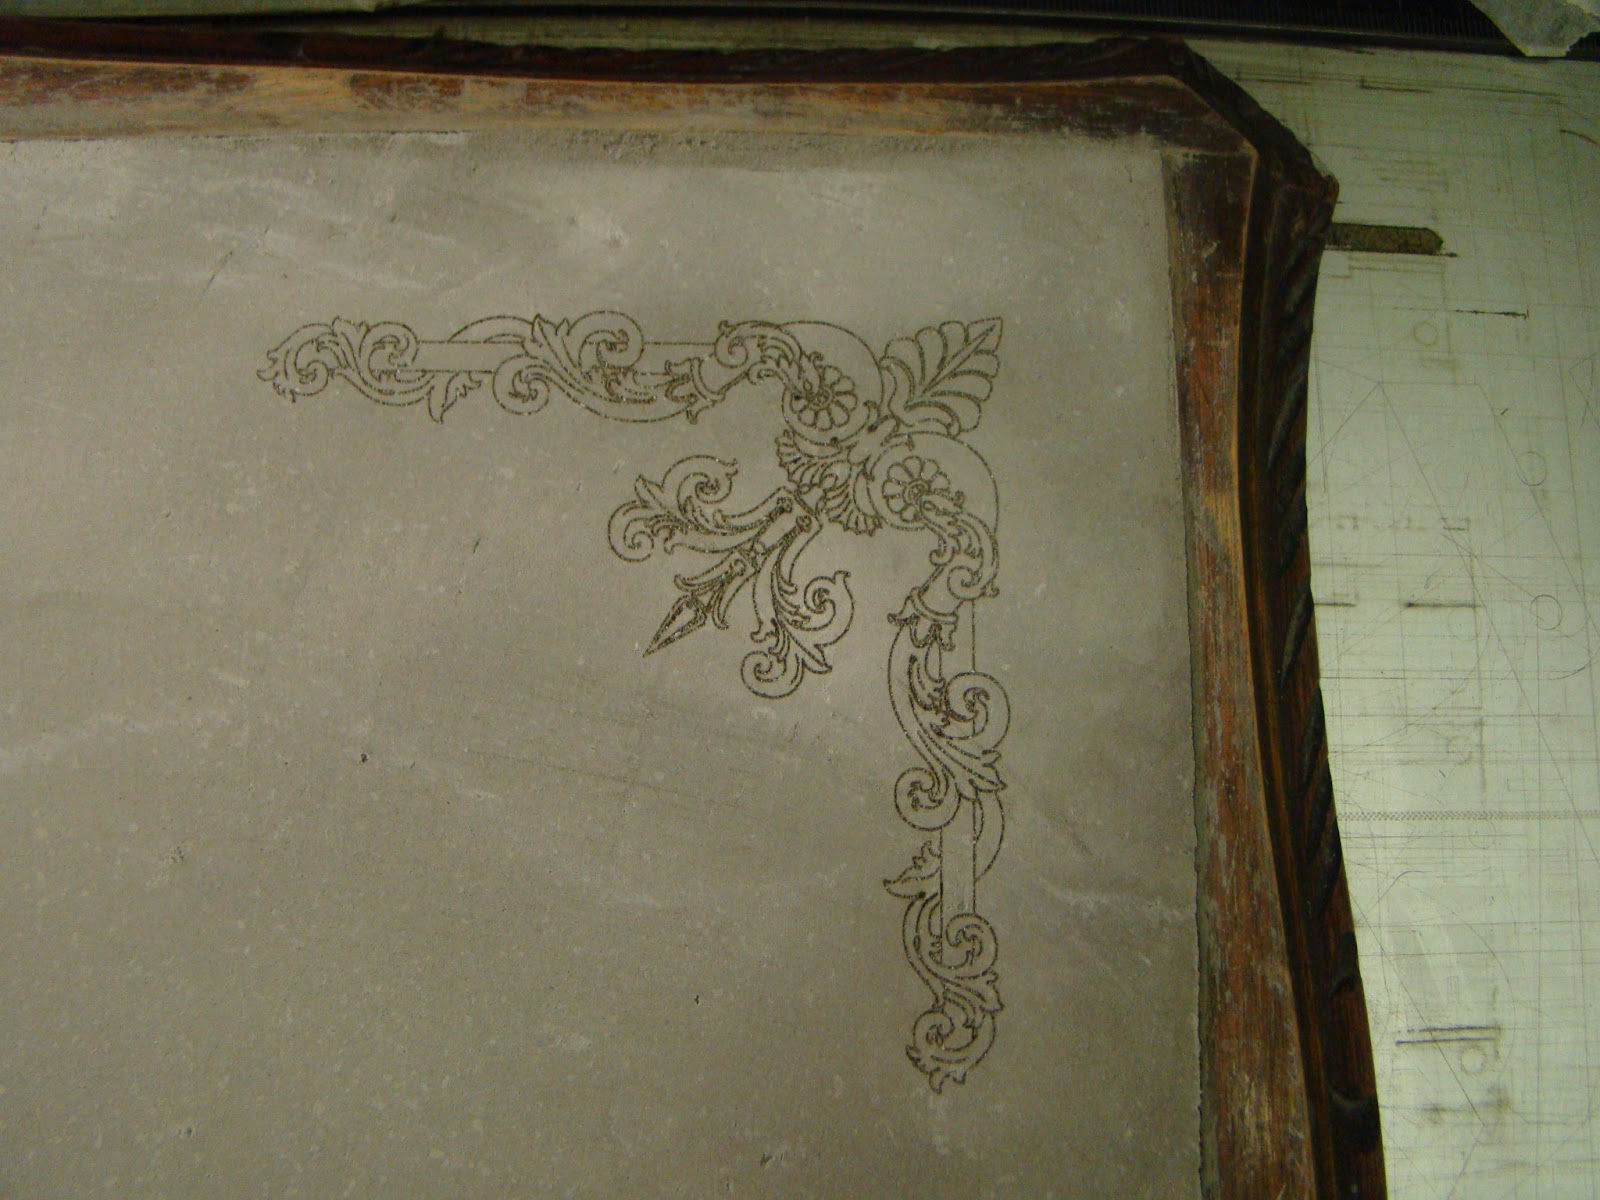
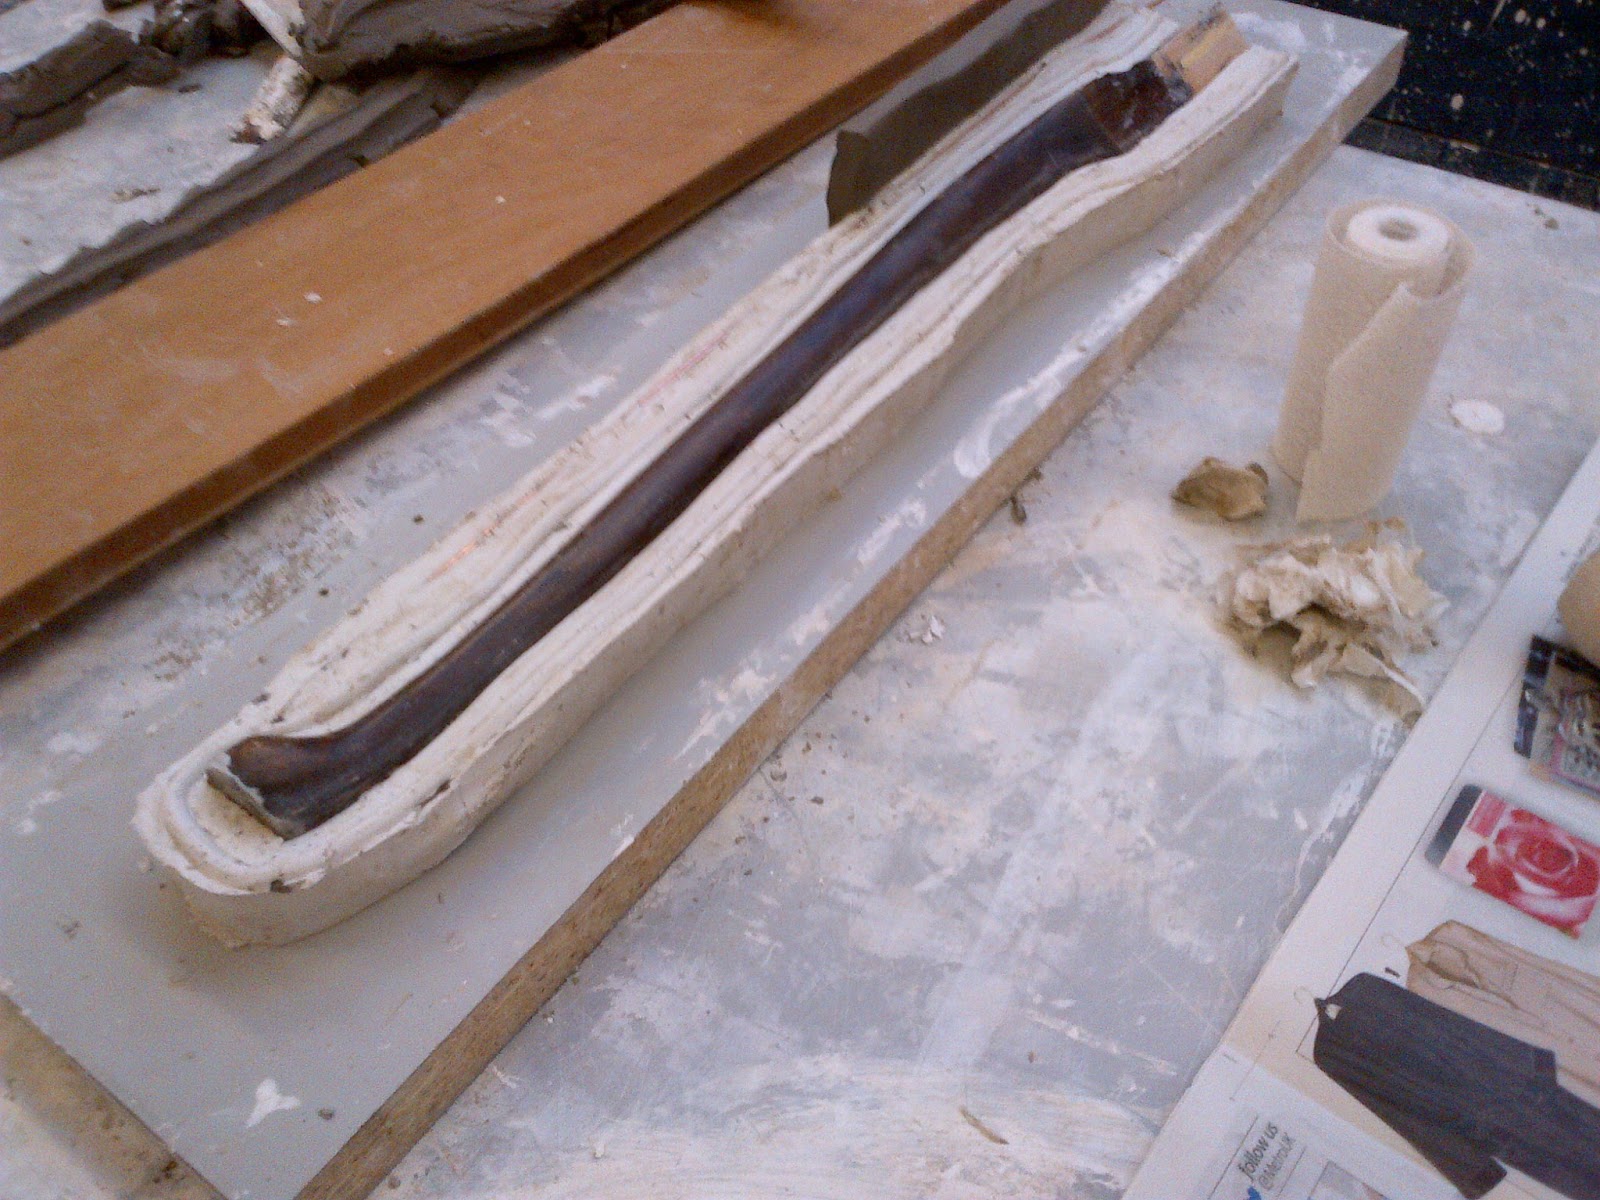
One is the carrying on of the furniture restoration. The different parts that need testing at the moment are the new mix of concrete including a higher fly ash level and a fewer sand level, using a series of plastic fibres, pigments and two different topical sealants. These will all be tested tomorrow, as well as a mould being made out of silicone.

The other path that needs developed and prototyped, is the service that allows the user to submit images of their furniture and start the interaction. This will come in the form of a website. The reason for the only interaction being the initial meeting is because the rest of the interactions between the user and myself should be more personal and face-to-face.

Any thoughts with the development of either service would be much appreciated!

Monday 4 February 2013

A Product and A Service


I am planning on creating a furniture restoration service that allows users to submit images of furniture that they want fixed or altered.

They will then have a totally personal and bespoke item of furniture that they have been involved with the design and manufacturing of from day one. In order to work out the ins and outs and logistics of this service I will get open the service to people and get someone to submit images of a piece that they want fixed or altered. 

The wheels are already in motion with this and I have my first user in place. Morna Macpherson is a designer and has a side table that has bits missing and is wonky and I will be fixing it up for her. The pictures of the table are below:


The plan is to alter the legs to make it more secure rather than wobbly, the table top, and replace a pull out leaf that has been lost before Morna obtained the table. Will post the designs I come up with soon!


Finished Bedside Table

So, the concrete door was a success, it just needs a nice coating to be found and it will be nice as anything, in the meantime here are the finished images.  This is a refurbished bedside table, stripped down and varnished that has been given a drawer made out of a recycled palate and recycled concrete.


There were a couple design faults that weren't considered but will be for the next time round. The drawer needed a counter-weight to balance out how heavy the concrete is at the front. As well metal fixings in the wood where the concrete meets it would have made it a lot stronger.

Friday 1 February 2013

Bedside Table


The bedside table has been stripped and varnished up and reassembled. The cabinet now has a concrete handle and everything looks a lot nicer. Two different handles were tried and one failed so the secondary handle is in place.


The top image with the longer handle had a lot nicer finish however, it suffered the same structural failings that the drawer did and the handle crumbled. The round handle seems a lot sturdier and has been used. Even though it does not have a nice polished finish it does show concrete how people view it on a day to day basis but in a totally different environment. The drawer will be done early next week and the pics will be up as soon as it's finished, I can't wait!

Bedside Table Start and Progress

 So, like a total fool I forgot to take original photos of the bedside table before I started, however, there are some images here which give you a pretty good idea of what it was like. 


The bedside table was stripped back as much as possible in the time frame I had allotted myself.


After being sanded down the cabinet was varnished give it a nice sheen. At the same time moulds had been used in order to make a concrete front for the drawer and a handle for the cabinet.


 The mould was poured in two layers. The first layer was to ensure a nice finish for the front of the drawer and then a second to secure the drawer in place. This did not work and the concrete crumbled when the mould was taken apart. This process was re-thought and I decided to pour all of the concrete in one go as well as give the drawer a wire interlocking grid to give the concrete more to bond to rather than just the edges of the drawer.